Torsion Bar Vertical Arm Assemblies for Trucks, Pump Trucks, and Concrete Mixer Trucks: Core Support Technology for Heavy-Duty Vehicles
May 12, 2025
In the field of construction vehicles, the performance of the suspension system directly determines the safety, reliability, and operational efficiency of the vehicle. As a core component of the suspension system, the torsion bar vertical arm assembly, with its unique mechanical design and material technology, serves as the "invisible guardian" for heavy-duty vehicles such as trucks, pump trucks, and concrete mixer trucks. This article will conduct an in-depth analysis from technical principles, performance advantages, application scenarios to industry trends, and comprehensively demonstrate the value of this key component by combining measured data and cutting-edge technologies.
I. Technical Principles: The Perfect Integration of Elastic Mechanics and Precision Manufacturing
1. Structural Design and Working Mechanism
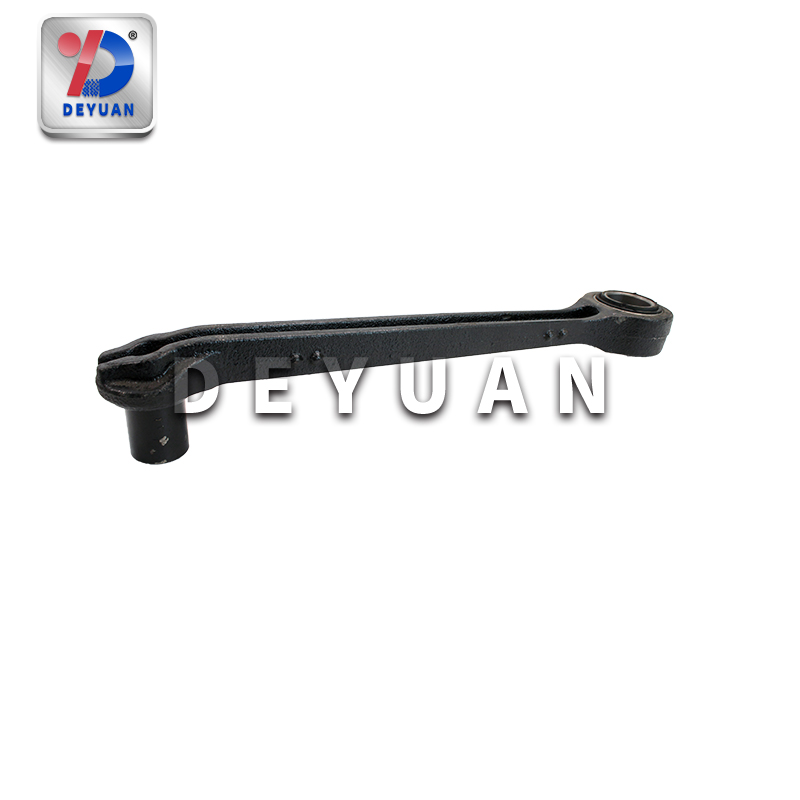
The torsion bar vertical arm assembly consists of a torsion bar and a vertical arm, achieving energy absorption and force transmission through elastic deformation. The torsion bar is made of high-strength spring steel (such as 60Si2Mn). After quenching, tempering, and shot peening treatments, its surface hardness can reach HRC45 - 50 and can withstand more than 500,000 cycles of loading. One end of the torsion bar is fixed to the vehicle frame via splines, while the other end is connected to the vertical arm. When the wheel moves vertically due to uneven road surfaces, the torsion bar twists and deforms, absorbing vibration energy and transmitting force to the axle through the lever action of the vertical arm, thus achieving the dynamic balance of the suspension system.
2. Material and Process Breakthroughs
Modern torsion bar vertical arm assemblies adopt laser welding and robotic automated assembly processes, ensuring that the precision error of components is less than 0.05mm. For example, Ningbo Lechi Auto Parts Co., Ltd. has achieved 100% full inspection by introducing a visual inspection system, with the defect rate controlled below 0.1%. Some high-end products also use carbon fiber reinforced plastics (CFRP), reducing the weight by 40% while maintaining the same strength, providing a solution for lightweighting.
II. Performance Advantages: Outstanding Performance under Heavy Loads and Complex Road Conditions
1. Heavy Load-Bearing Capacity: The Cornerstone of Safety and Efficiency
When trucks transport heavy loads, the torsion bar vertical arm assembly can evenly distribute the vehicle's weight through optimized geometric structures and material strength. Take a certain concrete mixer truck as an example; its torsion bar vertical arm assembly can bear a dynamic load of 8 - 12 tons while keeping the vehicle body height stable, avoiding rollover risks caused by center of gravity offset. Measured data shows that heavy-duty trucks with a three-section torsion bar design can automatically adjust the suspension stiffness according to the load, reducing fuel consumption by 5% - 8%.
2. Adaptability to Complex Road Conditions: Dual of Shock Absorption and Impact Resistance
Pump trucks and concrete mixer trucks often need to travel on rough construction sites or muddy roads. The elastic design of the torsion bar vertical arm assembly can absorb up to 70% of the road impact energy. For instance, a certain brand's product, through a simulation of 100,000 impact tests, has its vertical arm deformation controlled within 0.5mm, ensuring long-term reliability. In the daily 100-kilometer complex road condition test of concrete mixer trucks, the failure rate is 50% lower than that of traditional leaf spring suspensions.
3. Precise Control Response: The Core Guarantee for Operational Safety
When the boom of a pump truck is extended for operation, the torsion bar vertical arm assembly can control the vehicle body's roll angle within 3° through precise force transmission, ensuring the accuracy of concrete pumping. In emergency braking or cornering scenarios of trucks and concrete mixer trucks, this system can quickly respond to changes in the vehicle's attitude, reducing the risk of skidding and enhancing control stability.
III. Vehicle Adaptation: Customized Solutions to Meet Specialized Needs
1. Trucks: An Efficient Choice for Long-Distance Heavy Haulage
To meet the requirements of long-distance freight transportation, the torsion bar vertical arm assembly offers multiple specifications of torsion bars (with diameters ranging from 25 - 50mm) and adjustable vertical arms (with lengths ranging from 300 - 800mm), which can automatically adjust the suspension stiffness according to the load. For example, after a certain heavy-duty truck adopted a thicker torsion bar, its load-bearing capacity increased by 20%, and the replacement cycle of chassis components was extended by 30%.
2. Pump Trucks: Stable Support for High-Altitude Operations
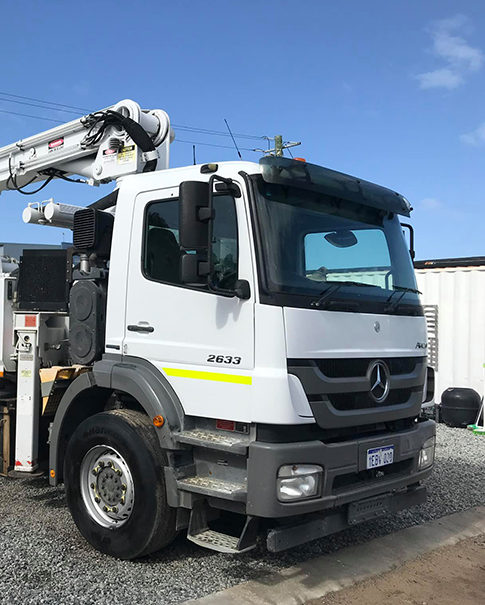
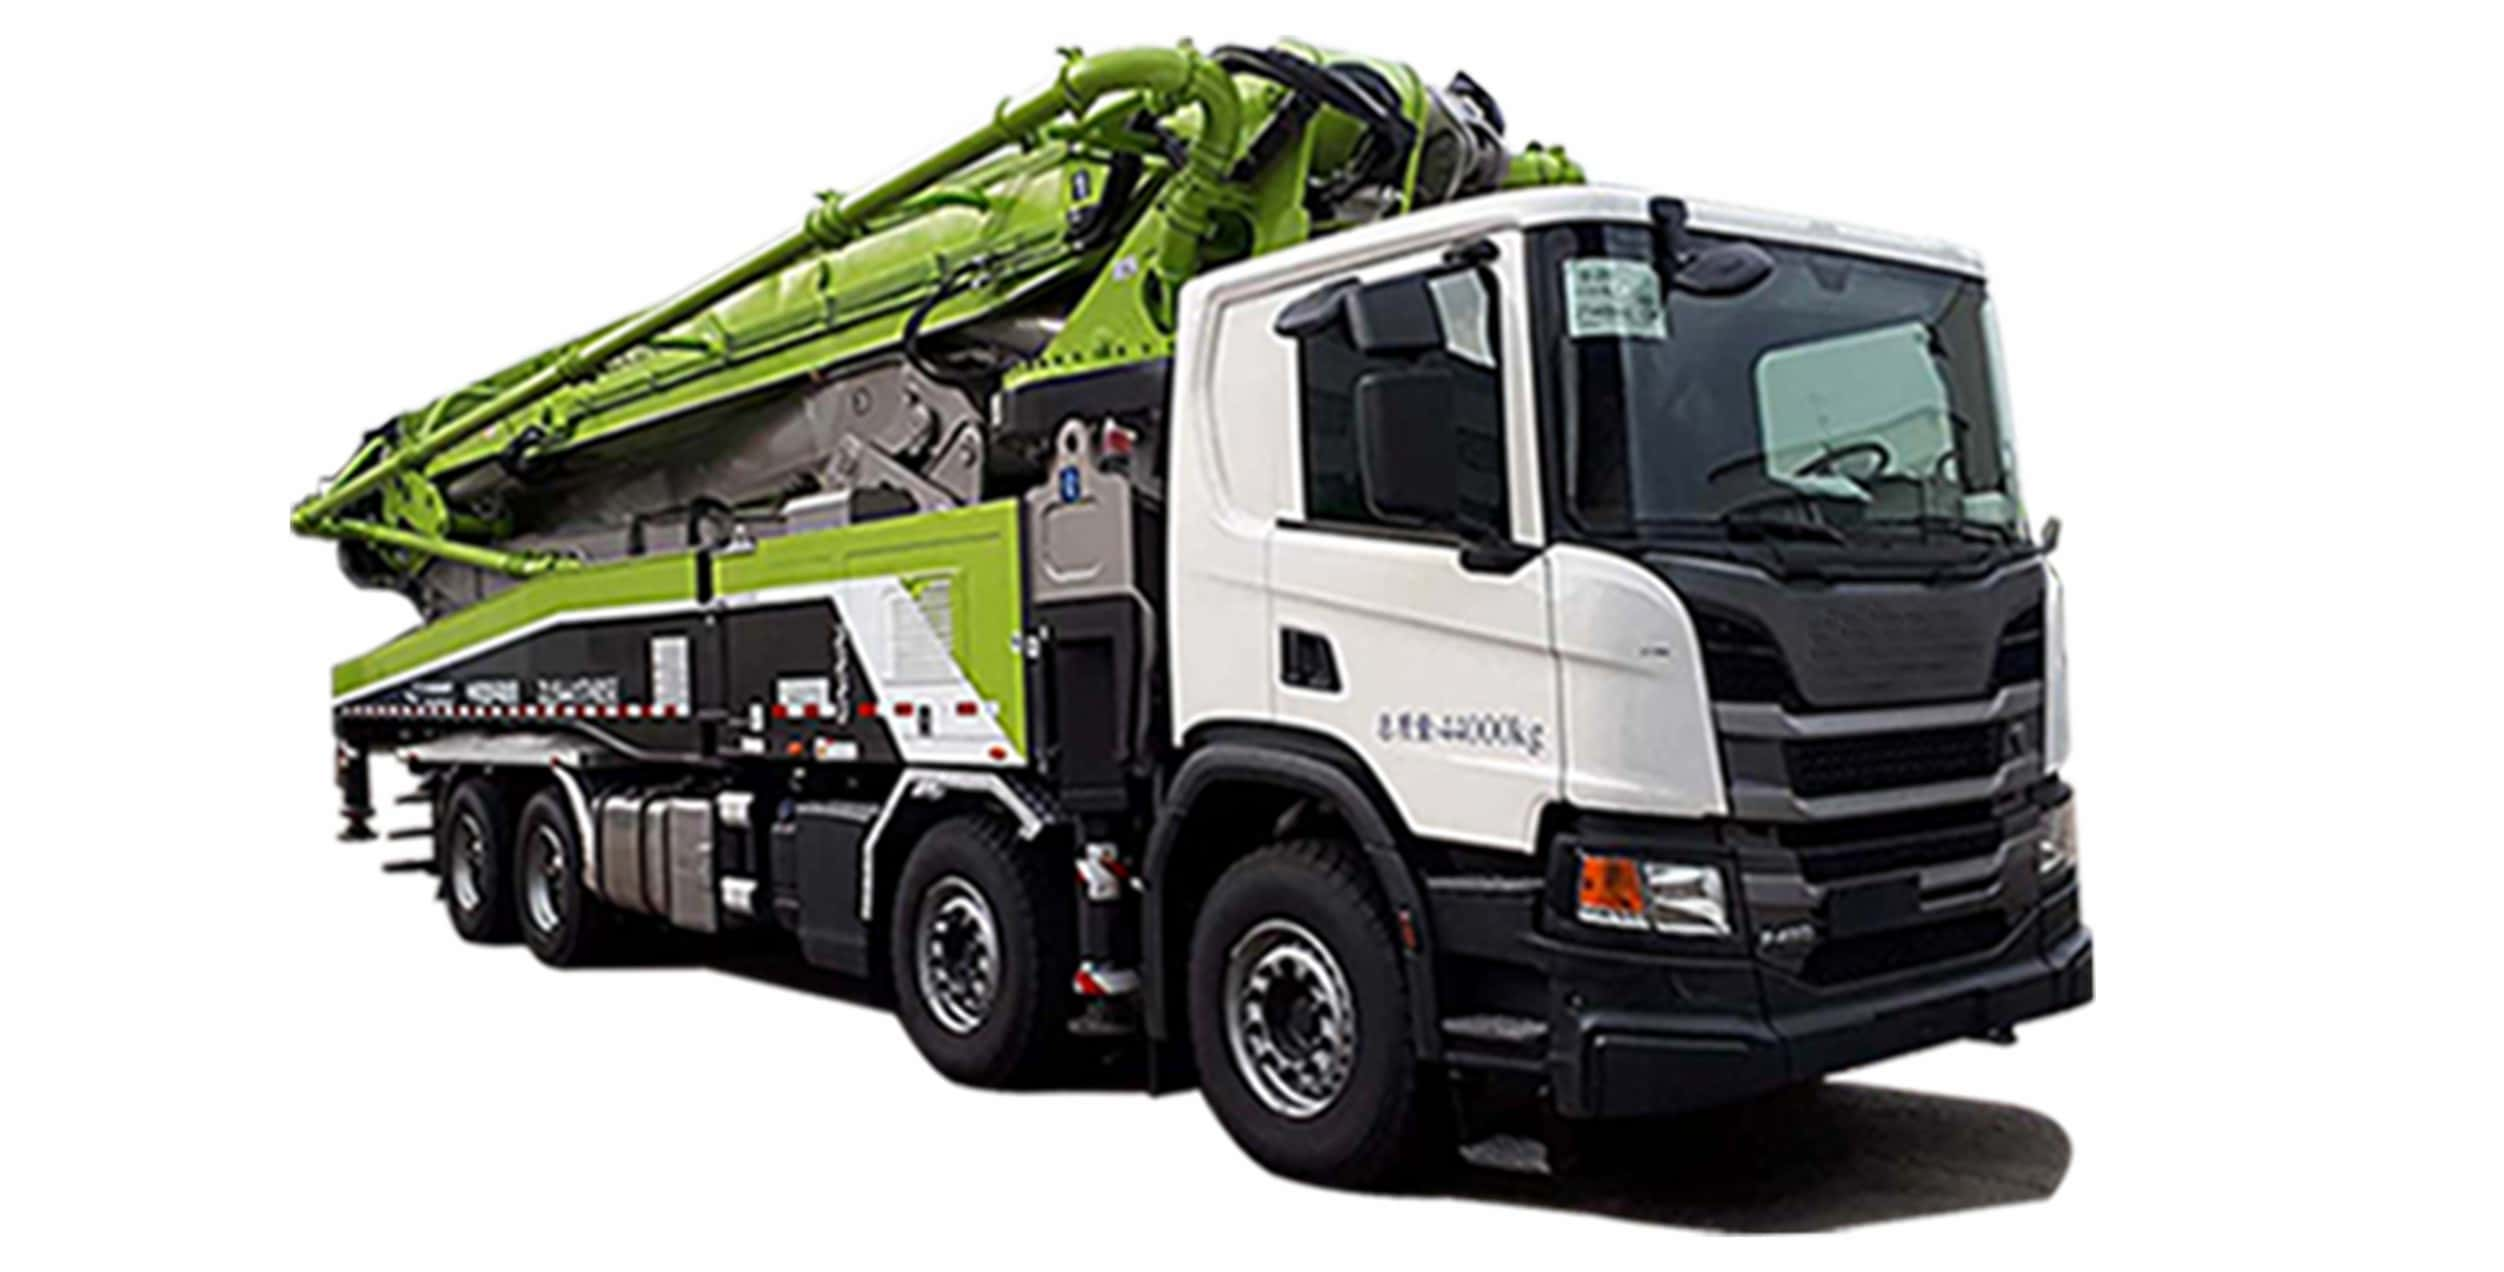
When pump trucks are pumping concrete, frequent starting and stopping and boom movements generate intense vibrations. The torsion bar vertical arm assembly reduces the impact on the chassis through dynamic energy absorption and quick reset. Measured data from a 62-meter pump truck shows that after using this system, the replacement cycle of chassis components was extended by 30%.
3. Concrete Mixer Trucks: Durable Protection for Complex Working Conditions
When mixer trucks travel on construction sites, they need to deal with challenges such as height differences and potholed roads. The fatigue-resistant design and high reliability of the torsion bar vertical arm assembly enable it to adapt to complex road conditions of over 100 kilometers per day, with the failure rate 50% lower than that of traditional leaf spring suspensions. Some high-end products have also passed the EU ECE R66 certification, making them suitable for the international market.
IV. Industry Trends: Technological Innovation Driven by Intelligence and Lightweighting
1. Intelligent Integration: Real-Time Monitoring and Adaptive Adjustment
With the development of intelligence in commercial vehicles, torsion bar vertical arm assemblies are beginning to integrate intelligent sensors to monitor the suspension status in real-time and automatically adjust the stiffness. For example, the "Intelligent Torsion Support Structure for Electric Vehicles" patent of Chongqing Pinzhi achieves dynamic adjustment of the suspension height through a hydraulic system, enhancing driving stability.
2. Application of Lightweight Materials: Balancing Performance and Energy Consumption
The introduction of carbon fiber reinforced plastics (CFRP) and aluminum alloys has reduced the weight of the torsion bar vertical arm assembly by 40% while maintaining the same strength. Enterprises such as Beite Technology have promoted industry upgrading by applying aluminum alloy lightweight technology to the supply chains of leading enterprises like BYD and ZF.
3. Modular Design: Convenience in Maintenance and Upgrades
Modular design facilitates quick replacement and maintenance, reducing downtime. For example, a certain brand's product, through standardized interface design, can complete the assembly replacement within 30 minutes, increasing efficiency by 70% compared to traditional methods.
